Getting Started
Welcome to the Realtime apps with Angular and NestJS workshop!
This workshop covers using NestJS as a real-time server for Angular apps.
Clone Repo and Install Dependencies
To get started, clone the repo and install the dependencies:
https://github.com/elylucas/ng-nest-realtime-apps
Go into the repo's folder and install the dependencies:
cd realtime-ng-nest
npm install
The repo folder contains two pertinent folders:
- client: The Angular front-end app
- server: NestJS back-end app
Running npm install from above installs the dependencies for both apps.
Start App
Next, open the code folders in your code editor. You might choose to open the app at the root level or open each folder in a separate editor instance.
To start the app, run the following in the root folder:
npm start
This will start the dev servers for both apps.
The Angular app should launch a browser to http://localhost:4200. If it did not, go ahead and open it. The initial page will have a simple welcome message.
Once the app is running, and your code editor is open, you are ready to continue to the first lab.
Code Editor
Now, open up the projects in your code editor.
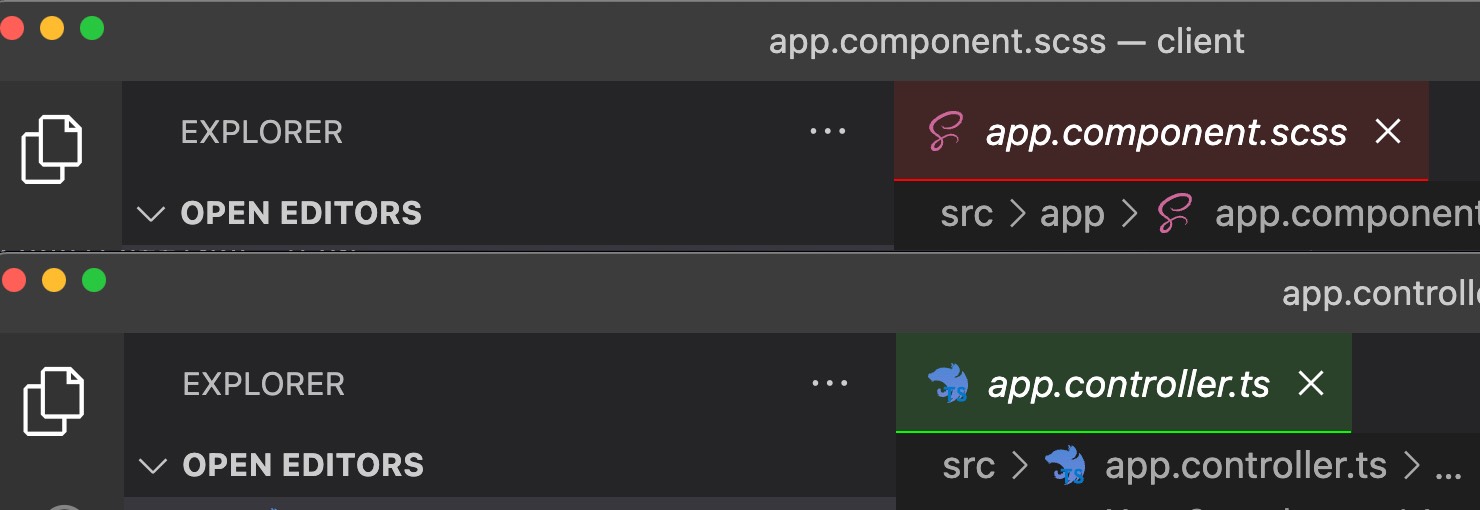
With so many files with similar names, it can get confusing what file you are editing. Therefore, I recommend you open the client and server projects in separate editor instances.
If you are using VS Code, there are color customizations in each project that will turn your tab backgrounds into different colors based on the project: The client project will be red and the server project will be green.