Lab1 - Echo Client
In this lab, we will build the "hello world" of websocket apps, an echo server that will reply any text that a client sends to it.
To get started, checkout the lab1-start branch:
git checkout lab1-start
You can find a completed version of this lab in the lab1-complete branch.
Required Dependencies
This lab is set up with all the dependencies you will require, so there is no need to install anything additional.
Visit the NestJS Websocket guide for more information on setting up Socket.IO in a new project.
Nest Gateway
Let's start by scaffolding a new gateway in the server folder:
nest generate gateway echo
This will generate an EchoGateway class which looks like:
import { SubscribeMessage, WebSocketGateway } from '@nestjs/websockets';

@WebSocketGateway()
export class EchoGateway {
  @SubscribeMessage('message')
  handleMessage(client: any, payload: any): string {
    return 'Hello world!';
  }
}
A gateway is a NestJS abstraction around setting up a real-time communication
socket. Gateways are analogous to controllers for API endpoints. They are
JavaScript classes that are decorated with @WebSocketGateway(). Under the
hood, NestJS is using either the socket-io library (which
we use in this course) or the ws library.
The @SubscribeMessage() decorator on a method designates that method as the
handler for an incoming message. You pass in the event name string to listen
for, which the client also designates when sending a message.
The parameters passed into the method are the socket client and any data sent
along with the message. Nest supports Socket.IO as well as the ws project, but it doesn't know which you are using, therefore the method it generates uses type any for the client. We can update this manually to use the Socket.IO Socket class, which is imported from 'socket.io':
import { SubscribeMessage, WebSocketGateway } from '@nestjs/websockets';
import { Socket } from 'socket.io';

@WebSocketGateway()
export class EchoGateway {
  @SubscribeMessage('message')
  handleMessage(client: Socket, payload: string): string {
    return payload;
  }
}
To make the gateway "echo" what was sent, return the payload instead of the hard-coded "hello world" string:
@SubscribeMessage('message')
handleMessage(client: Socket, payload: string): string {
  return payload;
}
Lastly, we need to enable the websocket to work with clients on other domains by
enabling CORS. To do so, we can pass in the option to the @WebSocketGateway()
decorator:
@WebSocketGateway({ cors: true })
That's it for the server stuff; let's look at the client next.
Angular
We'll do this demo in the main app component. Open up app.component.ts and add the following import at the top:
import { io } from 'socket.io-client';
The io object creates a new connection to our server and gives us back a
client of type Socket that we can use to send messages to the server.
Next, in the AppComponent class, we will create a few variables: a message
string that will bind to the text input, a returnedResponses array containing
the server's responses, and the Socket.IO socket. We initialize the socket by
calling io and passing in the URL of the server.
export class AppComponent {
  message = '';
  returnedResponses: string[] = [];
  socket = io('http://localhost:3000');
}
Look at the app now, and open up the dev tools. Go to the WS (for websockets) section of the Network tab. You will see a connection has been established:

Now it's time to send a message across that connection. Back in the app
component, add the following sendMessage method to the class:
sendMessage() {
  this.socket.emit('message', this.message, (msg: string) => {
    this.returnedResponses.push(msg)
  });
}
The socket emit method takes the event name ('message' in our case),
the payload of the event, and a callback. Remember when we returned the payload
from handleMessage() in the Nest gateway? That response gets passed back to
the callback.
The next step is updating the app component's template with an input box and button to send the message. Replace the welcome message in app.componenent.html with the following:
<div>
  <label
    >Message
    <input type="text" name="messasge" [(ngModel)]="message" />
  </label>
  <button type="button" (click)="sendMessage()">Send</button>
  <ul>
    <li *ngFor="let message of returnedResponses">{{ message }}</li>
  </ul>
</div>
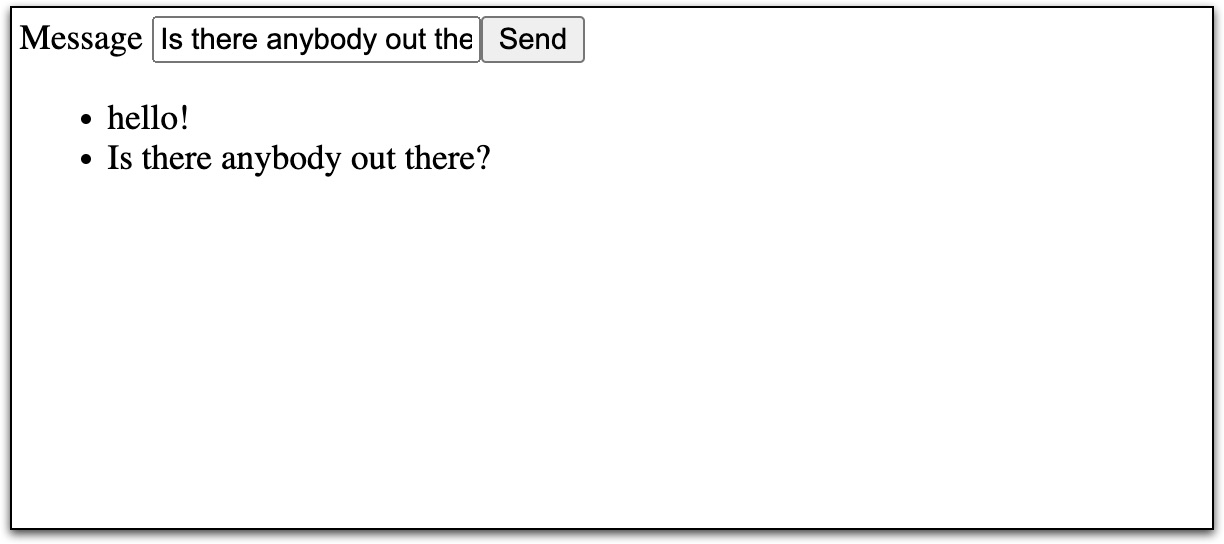
Here we have an input bound to message, a button that calls sendMessage when
clicked, and a list for each item currently in the returnResponses array.
Now the app echo demo should be fully functional. Give it a try!